How To Read Your Onboard Diagnostic Information?
Diagnosing car problems used to be more challenging. The emergence of OBD2 diagnostic scanners provides mechanics with more precise information. Whether you are an auto mechanic or a DIY enthusiast, use an OBD-II scanner to better understand your car.
What is an OBD scanner?

Modern cars have an on-board diagnostic (OBD) computer connected to various sensors. When one of the sensors detects a problem with a vehicle system, it notifies OBD. The computer will then activate your check engine light.
The "Check Engine" light itself isn't very helpful. It's a universal light that lets you know there's a problem - a defective sensor can even activate it. You don't know if the problem is with your ignition, transmission, emissions, electronics, etc. But by using an OBD scanner, you can get to the root of the problem.
When your OBD computer detects a problem, it stores a five-character code that corresponds to the problem. These codes are called OBD or OBD-II codes and are key to diagnosing the problem.
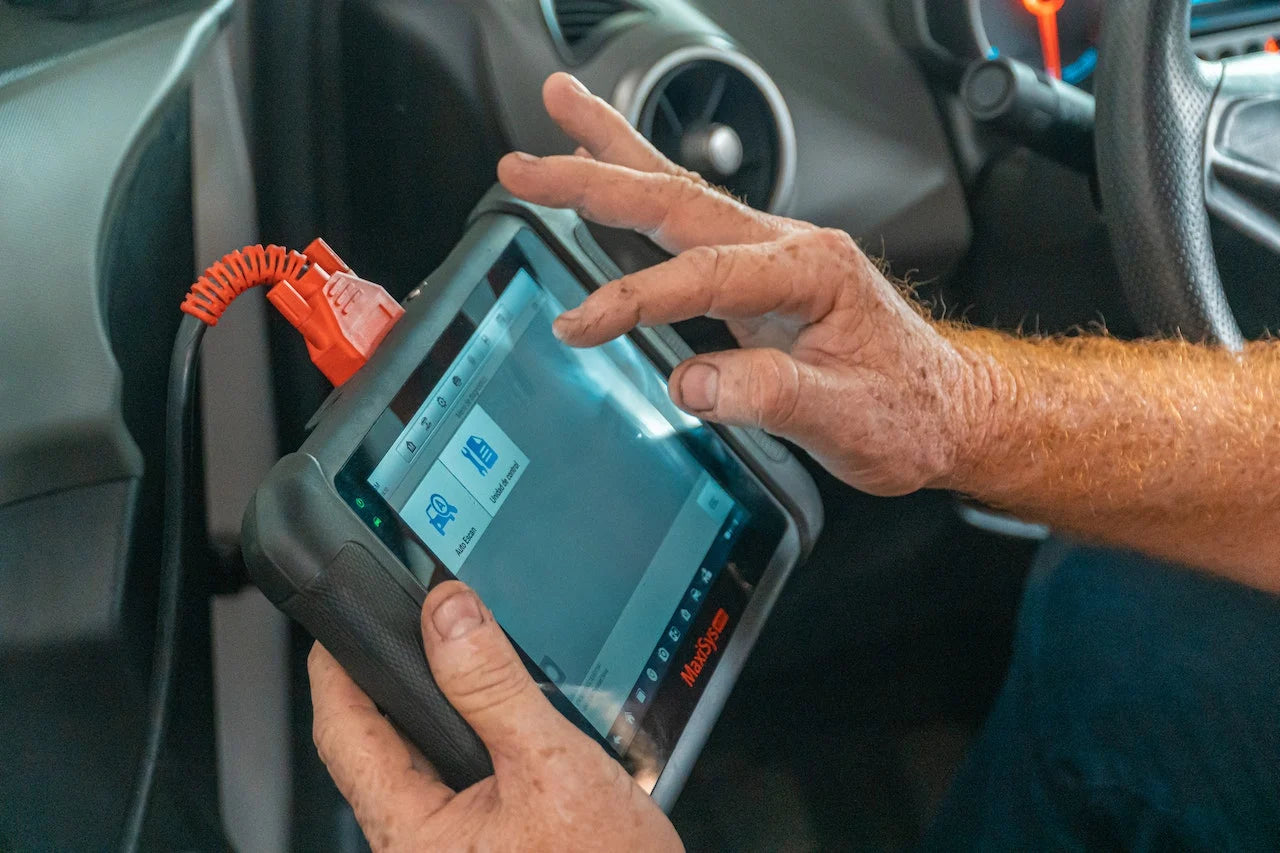
To read OBD codes, you first need to get an OBD scanner, which is a handheld device with a 16-pin plug that connects to your car. OBD scanners can be wired or wireless/Bluetooth connected. It also has a screen that visually displays any error codes.
How to use an OBD scanner?
1. Connect the scanner
Your OBD scanner has a connection cable with a 16-pin ladder plug on the end. This plug plugs into your vehicle's OBD port, also known as the Diagnostic Link Connector (DLC). The location of the OBD port varies from car to car. You'll often find it under the steering wheel, near the pedals. In a few cases, it's located in the center of the dashboard or even on the passenger side. If you can't find it, check your owner's manual.
2. Turn the key
Insert the key into the ignition but do not start the engine. Instead, just turn the key to the position where the car's power is on. This will activate the OBD computer so that your scanner can communicate with it. Depending on your scanner, you'll see a visual message letting you know the link is being established.
If nothing happens, double-check your connections to make sure the scanner is fully plugged in. If there's still no activity on the computer, plug something into your car's cigarette lighter and see if it powers up. The cigarette lighter and OBD computer are on the same circuit, so this will let you know if there is a problem with the circuit. In this case, you need to replace the corresponding fuse.
3. Enter your VIN
Some OBD scanners automatically detect the type of vehicle you are scanning. Others will require you to enter this information manually. Some scanners only have a menu for selecting the make and model. Alternatively, you may be asked to enter your Vehicle Identification Number (VIN).
4. Find your OBD code
Now that you are connected, you can read the code. Exactly how you do this will vary depending on the scanner. In most cases, you can find these codes in the menu under Codes or Fault Codes.
With many scanners, you will be able to view active and pending OBD codes separately. An active code indicates that there is currently a problem that is causing the Check Engine light to come on. The pending code represents an error but did not cause the light to activate. If the same error occurs again, the pending code is upgraded to an active code and the light is activated.
5. Cracking your password
At this point, you are ready to decipher any OBD codes that appear on your screen. Each code consists of five characters, each of which has a meaning.
The first character specifies which area of the car has the problem. The most common is P, which indicates a problem with your powertrain system. C indicates a problem with the chassis, such as the brakes. B Covers any issues with the car body, including safety features such as airbags. At the same time, U indicates that there is a problem with the car's communication system.
The second character lets you know whether the OBD code is universal or manufacturer-specific. Universal codes apply to any problem that may occur on your car. For example, you'll see the same anti-lock brake trouble code on any vehicle. Manufacturer-specific codes apply to part problems that only exist on a specific model.
If the first two characters are B0, B3, C0, C3, P0, P2, P34-P39, U0, or U3, the code is a universal code. On the other hand, if the character is B1, B2, C1, C2, P1, P30-P33, U1, or U2, then it is a manufacturer-specific code.
The third character will give you more precise information about what the problem is. The same third character may have different meanings depending on the first two characters. Specifically for powertrain issues, 1 represents a fuel or air monitoring problem, while 2 represents a fuel or air injection problem. 3 indicates an ignition problem and 4 indicates a problem with the emissions system. 5 indicates a speed or idle control problem and 6 indicates a computer problem. Numbers 7-9 are used to troubleshoot transmission issues. The last two digits provide the exact nature of the problem.
Generalize
As you can see, using an OBD scanner is a simple, straightforward process. By following these simple steps, you'll soon understand why your Check Engine light comes on. The Autel MX808S and Autel MK808BT Pro are entry-level comprehensive diagnostic scanners. After using the scanner to check for error codes, all that's left is to make the necessary repairs.

