
Step-by-Step Guide: VW ECU Cloning via Autel Programming Tools
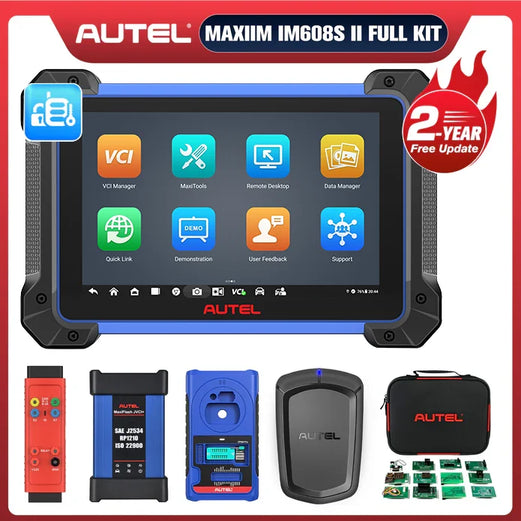
Autel MaxiIM IM608S II Full Kit
The ultimate all-in-one IMMO & key programming solution. Features advanced ECU coding, full system diagnostics, and comprehensive IMMO capabilities.
View Full Kit DetailsElectronic Control Units (ECUs) are vital to modern vehicle performance, managing everything from engine and transmission control to safety systems like airbags and ABS. When an ECU fails, cloning—the process of migrating data from an original unit to a replacement—is often the most efficient recovery solution.
For automotive technicians, using Autel key programming tools is a cost-effective alternative to expensive dealership replacements. This guide details the professional workflow for cloning a Volkswagen ECU using the Autel IM608S II and G-BOX3.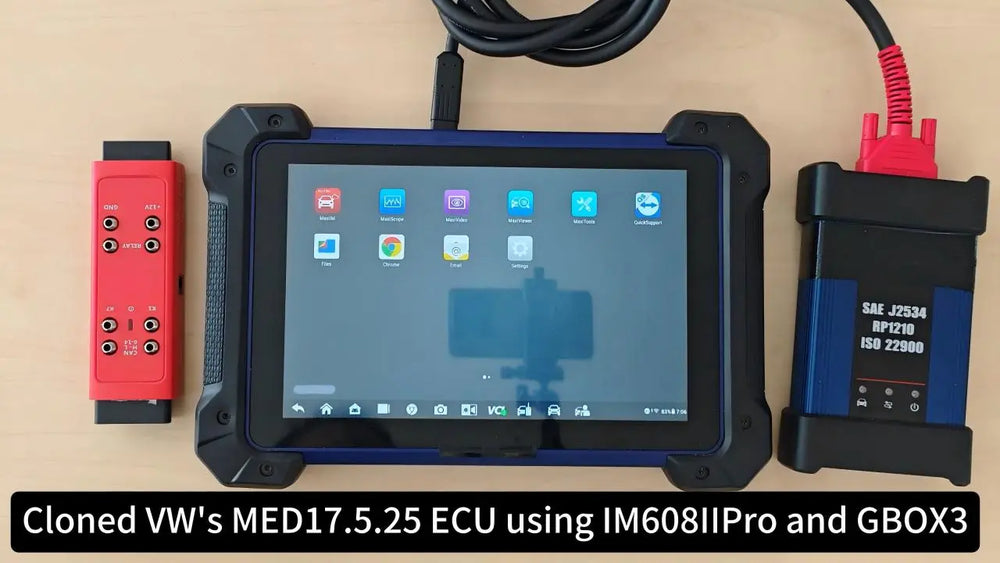
Preparations Before Getting Started
1. Tool Compatibility
Confirm that your Autel hardware supports the cloning feature. Supported tools include the IM508S, IM508S Pro, IM608S II, along with accessories like the XP400 Pro and G-BOX3. You can verify compatibility via network search, lookup tables, or the tablet interface.
2. Required Decryption Tools
VW’s high-level security requires the Autel MaxiFlash JVCI+ and G-BOX3 to assist with the cloning process.
3. Donor ECU Verification
You must ensure the replacement (donor) ECU is an exact model match to the original. Mismatched models will result in data corruption and cloning failure.
4. Safety Procedures
It is recommended to remove the faulty ECU and perform the work on a workbench. This prevents issues associated with the cramped conditions inside a vehicle and makes tasks like wiring much easier.
VW ECU Cloning: Step-by-Step Guide
Note: This guide references a Bosch MED17.5.25 (TC1782) ECU, common in many VW models.
Step 1: Turn on the Autel IM608S II. Navigate to: MaxiIM > IMMO > Volkswagen > Expert selection > IMMO parts > engine > Bench > BOSCH > MED17.5.25 TC1782. (choose the right info base on your own vehicle info) 
Step 2: Refer to the wiring diagram displayed on your Autel screen. Connect the IM608S II and MaxiFlash JVCI+ to the G-BOX3, then connect the ECU pins to the G-BOX3 based on the diagram. Ensure all wiring is verified as correct before powering on the G-BOX3.
Step 3: Use the Autel IM608S II to read the EEPROM and FLASH data from the original ECU. Save these files to the device.
Step 4: Turn off the power to the G-BOX3, disconnect the original ECU, and connect the new (donor) ECU using the same wiring configuration.
Step 5: Read the EEPROM and FLASH data from the new ECU. Save these files using unique filenames to avoid confusion with the original data.
Step 6: Select "EEPROM cloned data conversion." Upload the original FLASH data, the donor ECU’s EEPROM/FLASH data, and the original vehicle’s FLASH data to generate the new EEPROM file. Save this generated file.
Step 7: Write the newly generated EEPROM and the original FLASH data to the new ECU to complete the cloning process.
Step 8: Disconnect the hardware, reinstall the new ECU into the vehicle, and verify that the system is communicating correctly.
Instructional Video
Conclusion
ECU cloning is a precise process that requires the right equipment and attention to detail. By following these steps and ensuring a safe, organized workspace, you can reliably clone VW ECUs. Always ensure you have the necessary equipment ready before starting your project.

Leave a comment